Setting up Microsoft Clarity - The easy and the hard way

Want to use Microsoft Clarity? This easy-to-use, free of charge (for now) has many features. Setting it up can be done very quickly (the easy way), but also advanced scenarios are supported (the hard way). Learn about these options and start using it for gaining more insights about your website usage!
What is Microsoft Clarity
For the people who are not yet familiar with Microsoft Clarity. This is a tool that Microsoft created and went Generally available approx. October 2020. With this tool, users can monitor their own website for usage. Link/ referrer locations will be recorded, heat maps of your site are generated and session recordings are recorded for you. This allows you to quickly see what works and what doesn’t on your site. Microsoft has released Clarity as an open source analytics tool and you can view the code here on GitHub. Similar tools like Microsoft Clarity have been around for some time, one of them is HotJar. This tool has been on the market for quite some time and offers a richer feature set as Microsoft Clarity. However, it is not open source! In addition, Microsoft Clarity is (for the time being) completely free of charge, making it automatically a very interesting option if you want to gain insight into your site usage 😉.
Checkout the following video for getting more insights about Microsoft Clarity and what it offers:
Setup
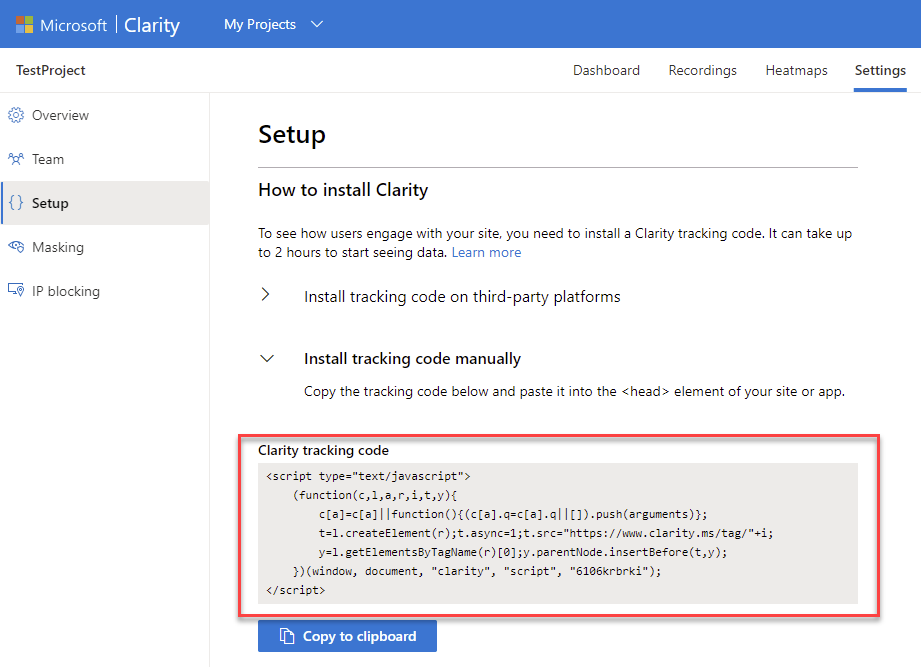
The easy way
Microsoft Clairity offers the possibility to easily include a piece of code in your website with which you automatically add tracking. All settings that you then set from the Microsoft Clarity portal are automatically reflected in the tracking behavior.
The hard way
Because Microsoft Clarity is open source, you can also use the code within custom apps. This allows you to add tracking yourself, have more control over when and what is sent to Microsoft and custom properties can be added to a tracking session. Microsoft made Clarity available using a NPM package, so no need of copy pasting raw code. You can find a simple example of how to add tracking to your custom app on GitHub. However I found the ‘sample’ is not super clear about what parts do the ‘magic’ stuff. The following pieces of code are the parts that are interesting to look at.
 1  // Importing package
 2  import { clarity } from 'clarity-js';
 3
 4  .....
 5
 6  // Start tracking
 7  clarity.start({
 8    projectId: "<PROJECT_TRACKING_CODE_HERE>",
 9    upload: "https://www.clarity.ms/wus2/collect",
10    cookies: ["_uetmsclkid","_uetvid"],
11    track: true,
12    content: true,
13    mask: [ "#loginPhoto" ]
14  });
15
16  // Add custom properties to your session
17  clarity.set("PageUICulture", "nl-NL");
18  clarity.set("Special_Property", "Some special value");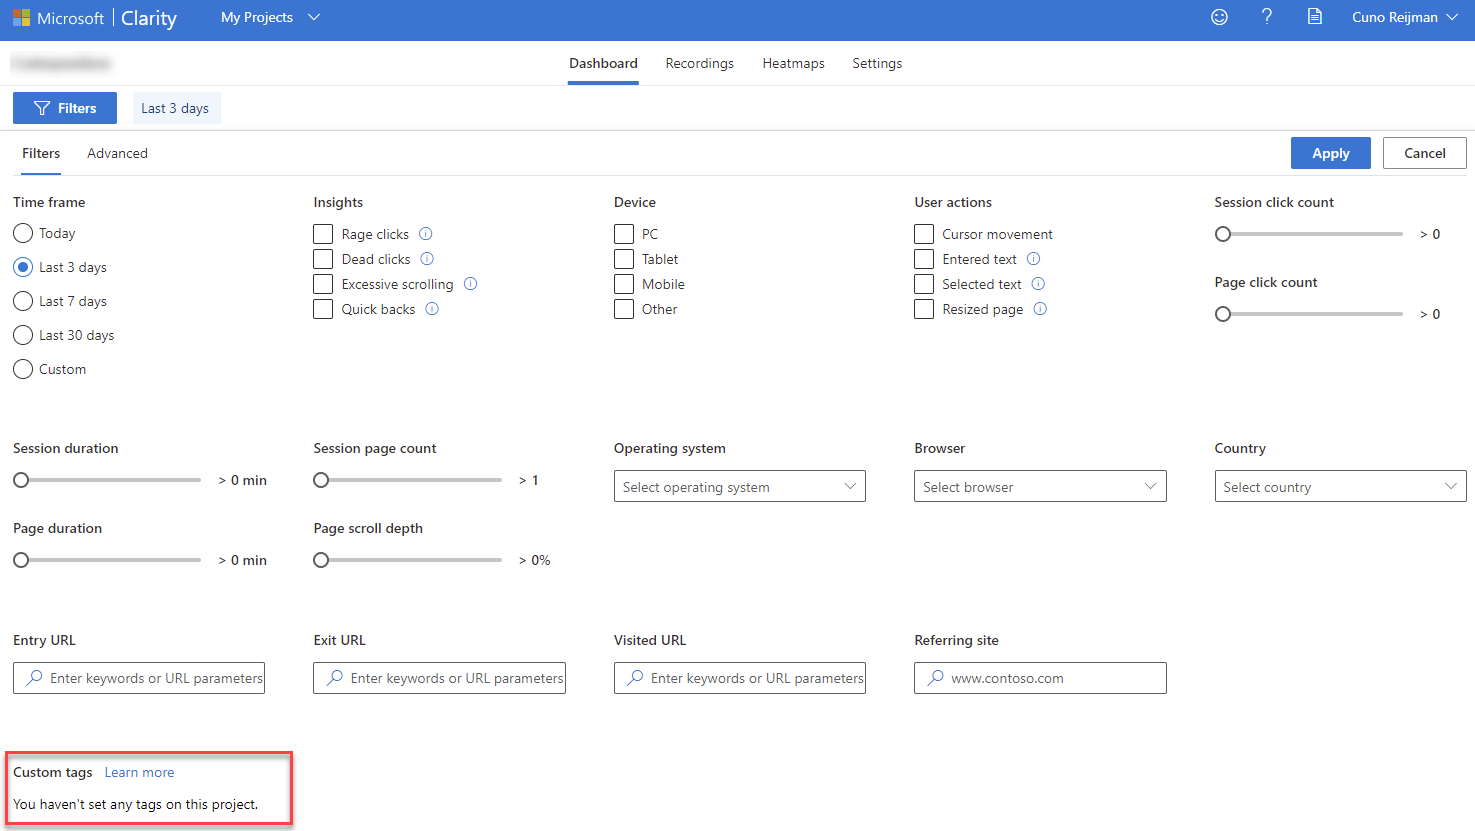
Final thoughts
- When you use the ‘hard’ way installing Microsoft Clarity on your site, this automatically means that you have lesser control on making adjustments using the portal (such as Masking settings) on the analytics behavior. Keep this in mind when going down this road 😉.
- The AVG content of the tool goes just as far as you want it to go. If you use the express settings, Microsoft Clarity knows how to handle this very well and settings for this topic can even be changed in the portal. However, if you use custom tags, then you can add some non-AVG properties (such as login name, email etc.). Keep in mind that this data will eventually be stored at Microsoft and that everyone that has access to your Microsoft Clarity project can see and use this information.
Overall; Microsoft Clarity is a quick, cheap and easy-to-use tool with lots of cool insights features! Specifically when you have requirements for gaining (more) insights about your site usage 👌.